
Home Composting for Beginners: Getting Started
Home composting turns kitchen and yard waste into nutrient-rich material for gardens. This guide explains practical steps a beginner can follow to set up and maintain a working compost system.
Home Composting for Beginners — Why Start
Composting reduces household waste, improves soil structure, and saves money on fertilizers. For many beginners, the first goal is producing usable compost within 6–12 months with minimal effort.
Choosing a Compost System

Select a method that fits your space and time. Common options include a simple heap, a covered bin, a tumbling composter, and worm composting for indoor spaces.
- Backyard bin: Low maintenance and good for yard waste.
- Tumbler: Faster decomposition with regular turning.
- Vermicomposting: Uses worms, ideal for apartment kitchens and small volumes.
What to Compost
Balance between nitrogen-rich materials (greens) and carbon-rich materials (browns) is the foundation of successful composting. Avoid meat, dairy, oils, and diseased plants to keep odors and pests away.
- Greens: vegetable scraps, coffee grounds, fresh grass clippings.
- Browns: dry leaves, shredded paper, straw, cardboard.
How to Balance Greens and Browns
A common beginner ratio is about 2 to 3 parts browns to 1 part greens by volume. Mixing layers helps air circulate and avoids the pile becoming too wet or slimy.
If your pile smells like ammonia, add more browns. If it is dry and not decomposing, add greens and moisture.
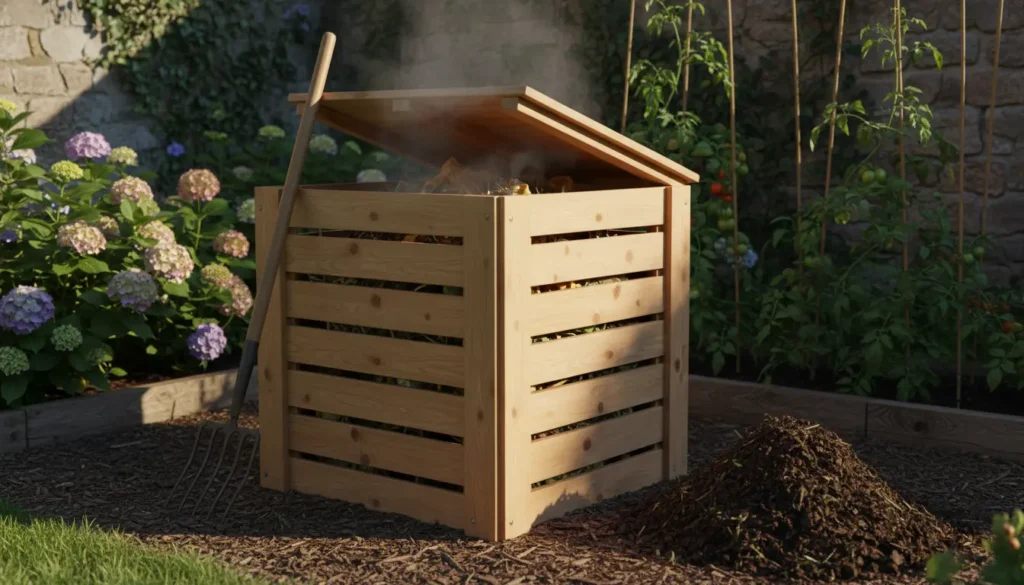
Turning, Moisture, and Temperature
Aeration speeds decomposition. Turn a bin every 1–2 weeks or use a tumbler for effortless mixing. Keep the pile damp like a squeezed sponge — not dripping wet.
Thermophilic composting reaches 130–160°F in the center; that rapid decomposition is optional but effective for killing weed seeds and pathogens.
Troubleshooting Common Problems

Beginner composters often face a few recurring issues. Simple adjustments usually solve them quickly.
- Bad smells: Add more dry browns, increase aeration, or reduce wet inputs.
- Pests: Avoid meat and fatty foods, use a closed bin, and bury food scraps under browns.
- Slow decomposition: Shred materials, increase greens, and ensure moisture.
Using Finished Compost
Compost is ready when it looks dark, crumbly, and earthy-smelling. Use it as a soil amendment, top-dressing, or to mix into potting soil for vegetables and flowers.
- Garden beds: Mix 1–2 inches into the top 6–8 inches of soil.
- Potting mixes: Add up to 25% finished compost to improve structure.
Composting one ton of food scraps can save about one ton of carbon dioxide equivalent in greenhouse gases. Even small home systems contribute to reduced landfill methane.
Small Real-World Example
Case Study: A family of three started a 50-gallon tumbling composter and a small worm bin for kitchen scraps. After six months they produced about 4 cubic feet of usable compost and used it to improve two raised vegetable beds.
Key changes they made included shredding yard waste, adding cardboard on rainy days, and turning the tumbler weekly. Their tomatoes and herbs showed improved growth in the beds with compost.
Practical Tips for Beginners
Start small and be consistent. Keep a container with a tight lid at the kitchen sink for daily scraps and empty it into the compost system every few days.
- Chop larger items to speed decomposition.
- Keep a supply of shredded paper or dry leaves on hand as browns.
- Record changes in a simple log: additions, turning dates, and observations.
Conclusion: Home Composting for Beginners
Home composting is accessible and flexible. With the right balance, simple maintenance, and a little patience, beginners can convert household waste into a valuable soil resource.